Installation of Ubuntu 8.04 Server (Hardy Heron) LTS on SOEKRIS-net4801 using VirtualBox
This fall, we are working with the Internet of Things (IoT) as the topic of our project at the university. We are going to implement a model of how the IoT can be used in the everyday household, and for this purpose we use a SOEKRIS-net4801 box as a proxy server responsible for communication between devices on the LAN and a web-portal on the Internet. However, to use the SOEKRIS-net4801 box, we had to get it up and running with some sort of Linux distribution – a task I was assigned 🙂 I’m no kernel hacker or a Linux expert – I have basic knowledge of how to use Linux systems, and that’s it. So, don’t expect some crazy bitshifting or kernel module hacking in this blog-post 😉
In this post I describe how I managed to install Ubuntu 8.04 Server (Hardy Heron) LTS on a SOEKRIS-net4801 box using VirtualBox.
My Hardware:
- Dell E6510 laptop
- Running Windows 7 Pro (x64)
- Dell OptiPlex server
- Running Windows Server 2008 R2 (x64)
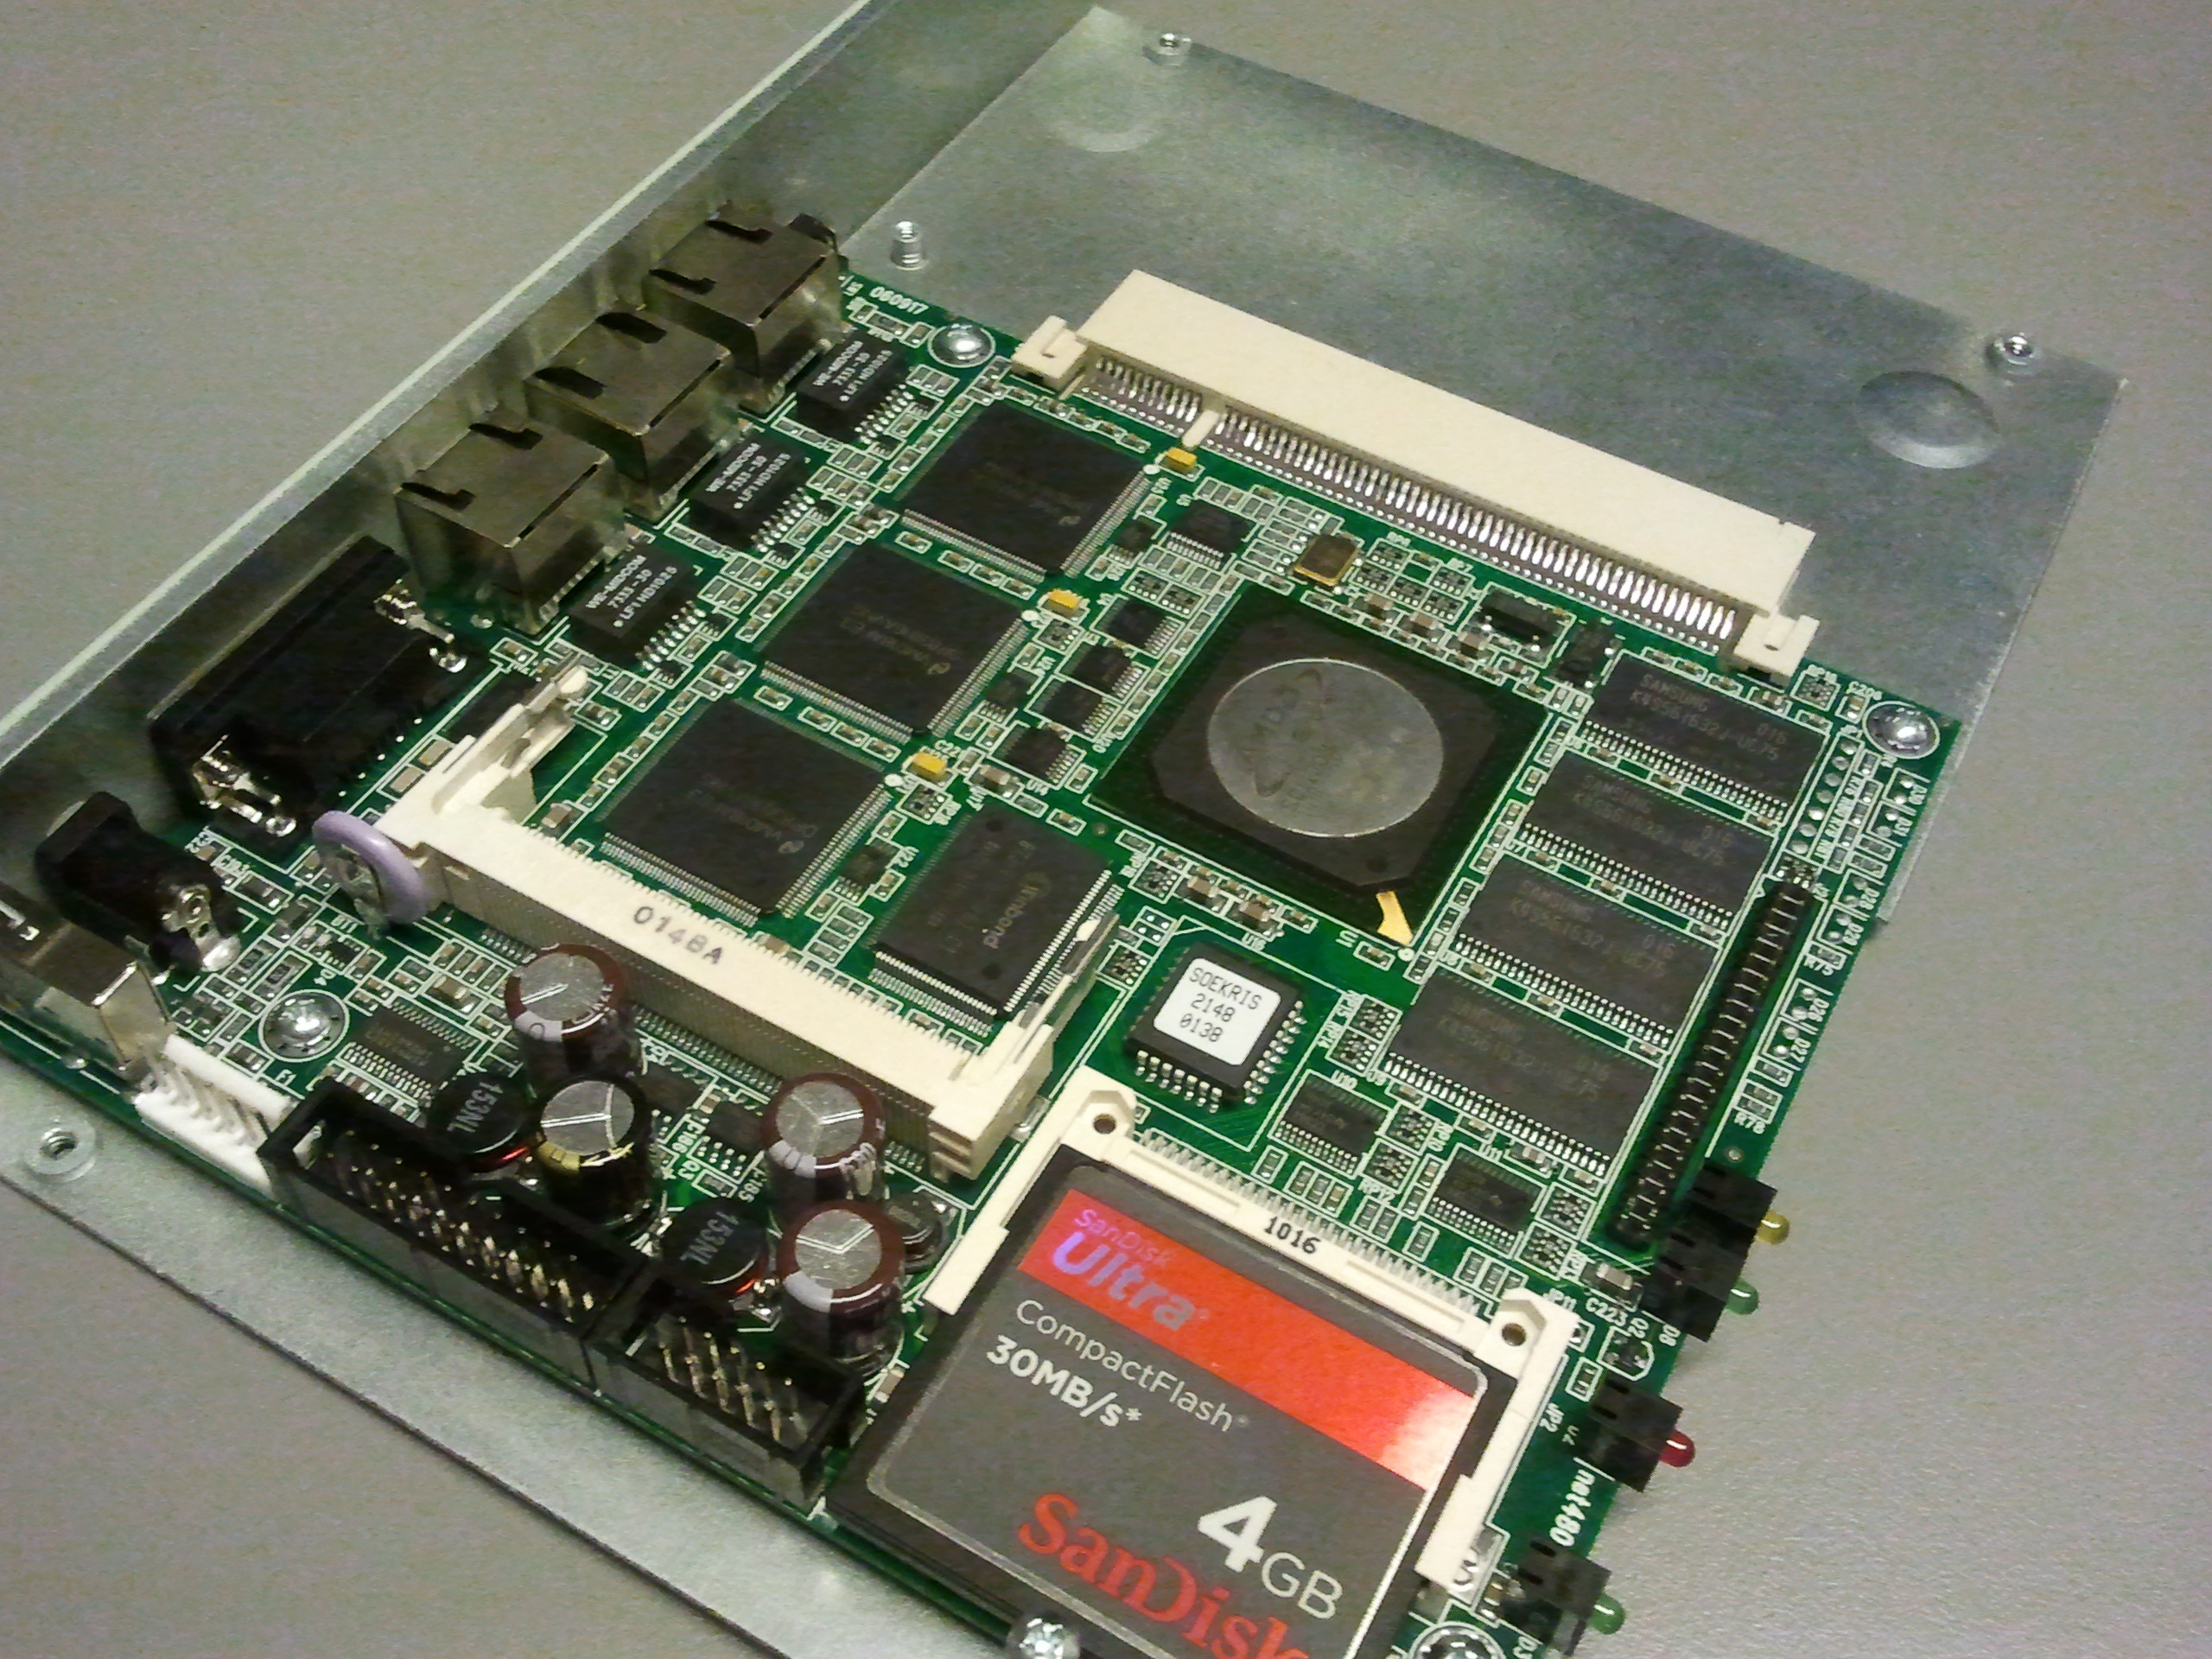
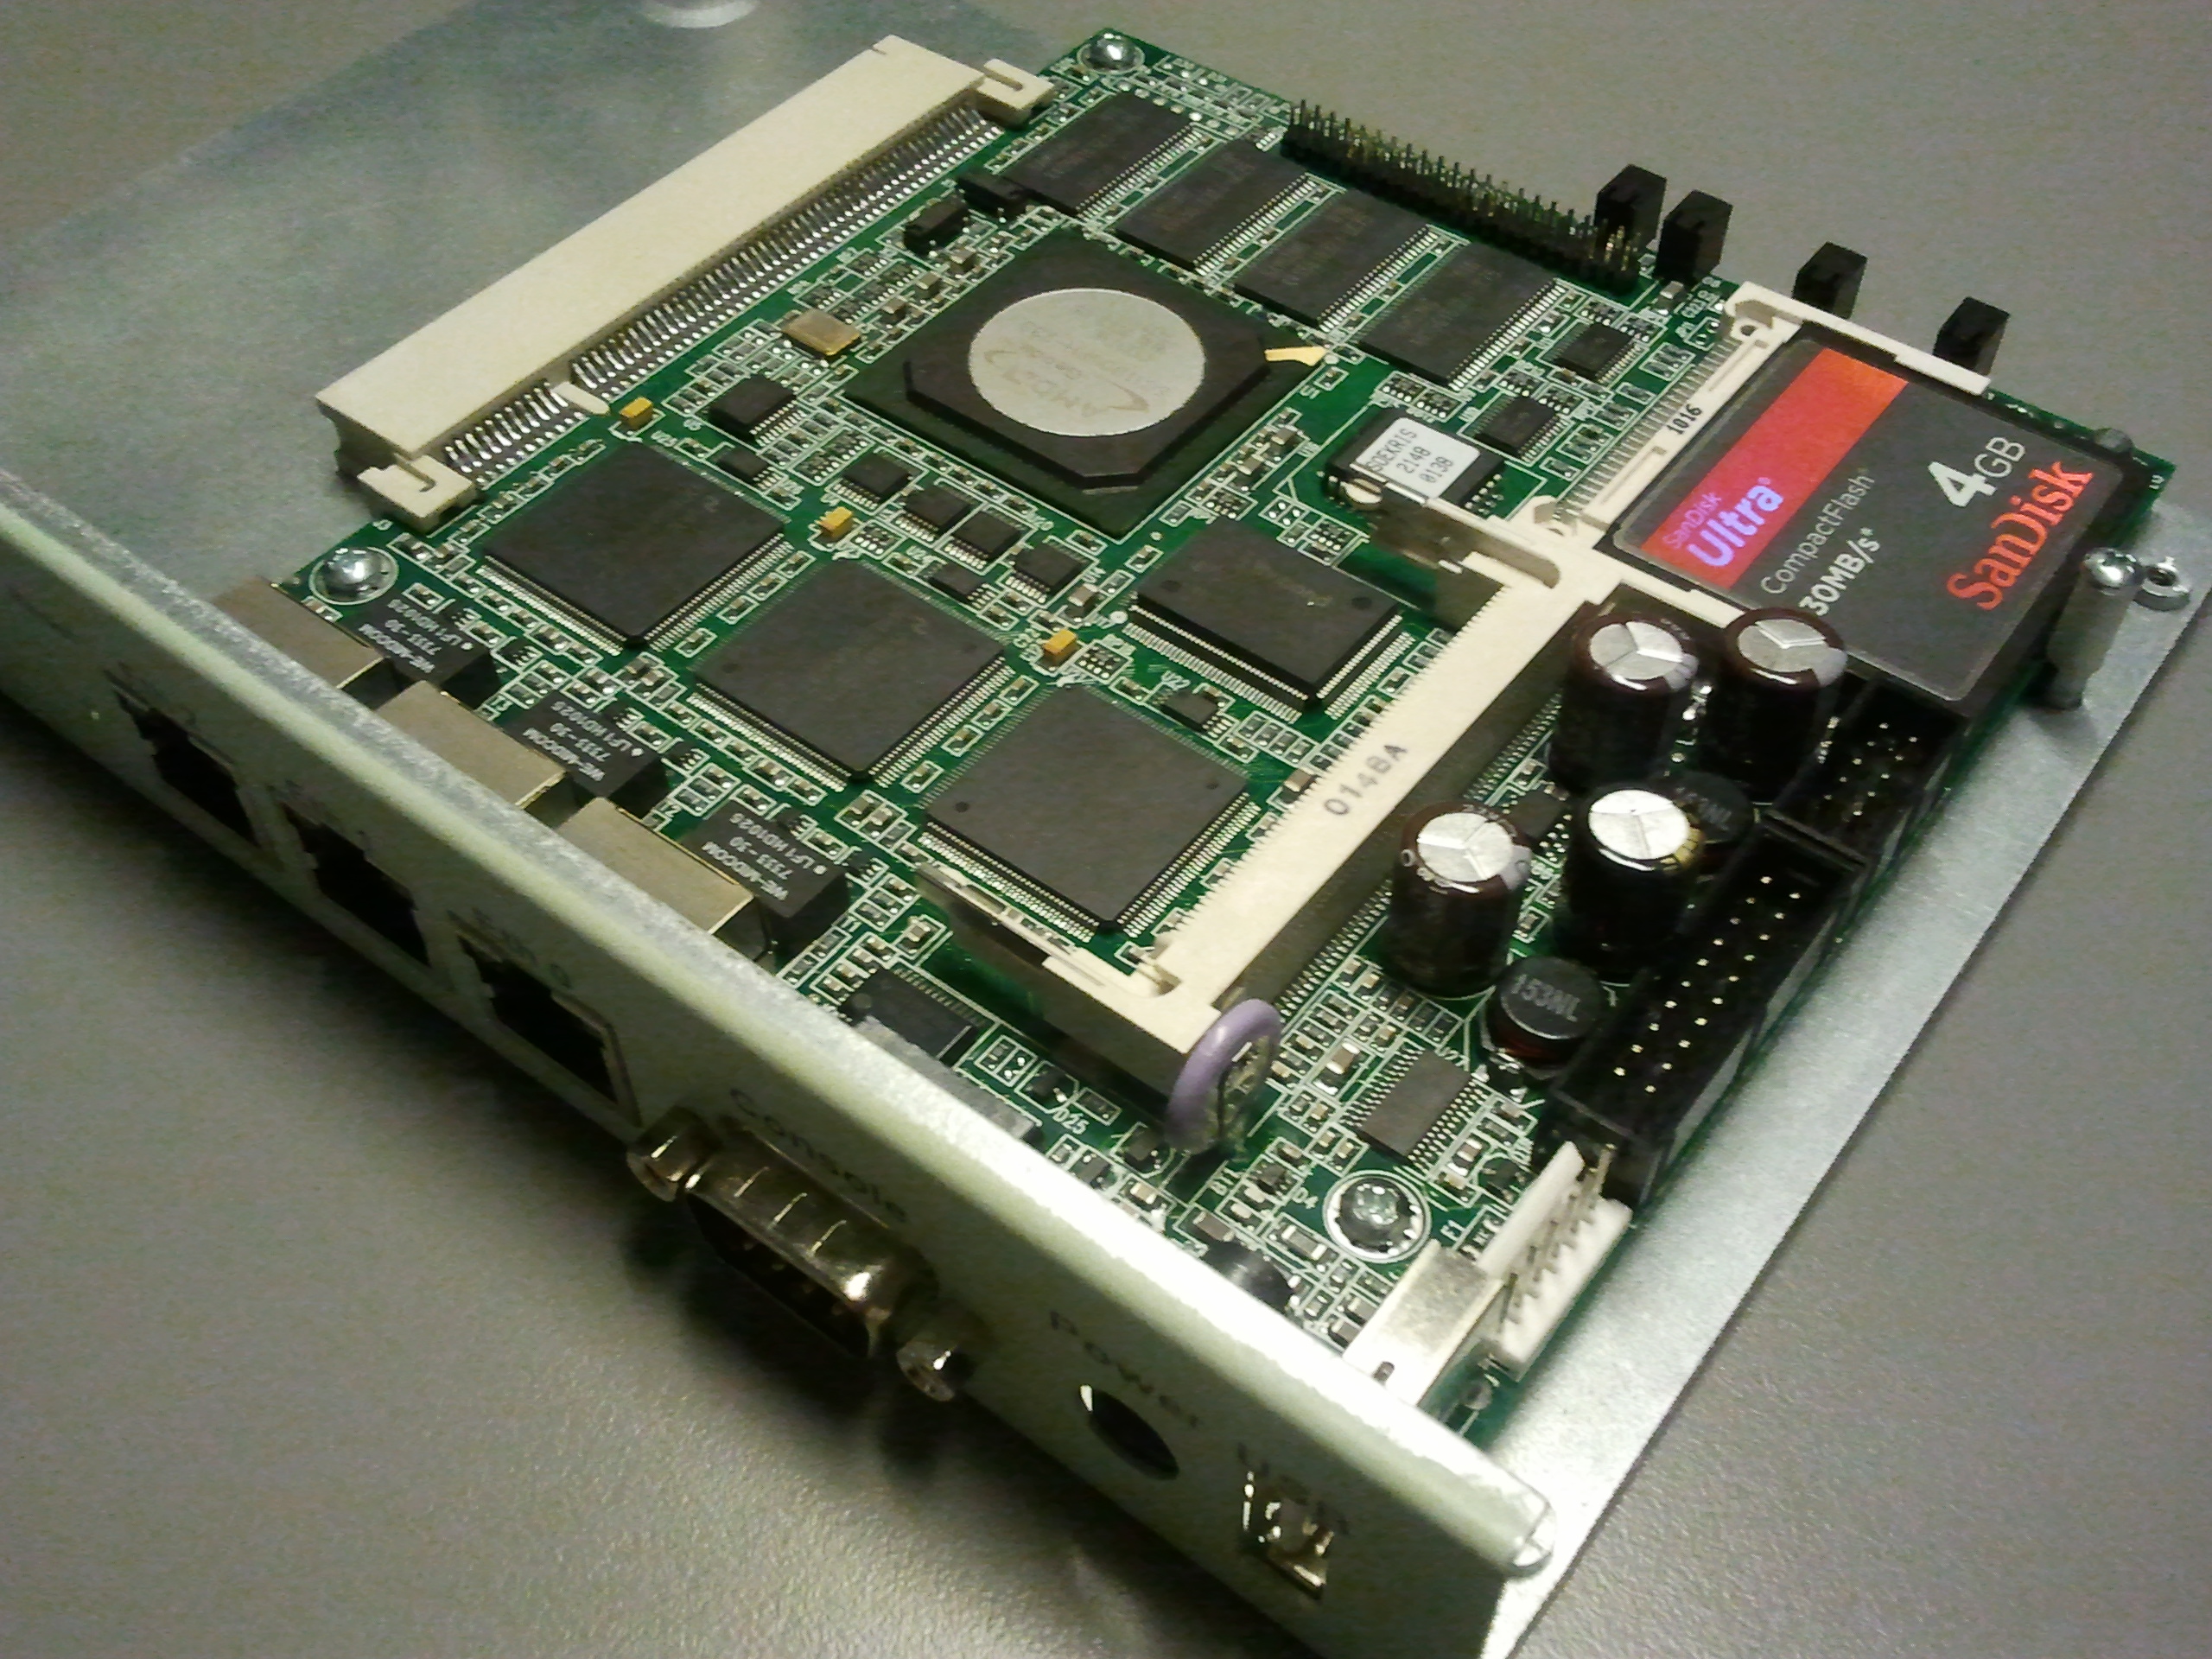
- SOEKRIS-net4801
- Going to run Ubuntu 8.04 Server (Hardy Heron) LTS
- No-name USB 2.0 21-in-1 card reader/writer (CF compatible)
- 4GB SanDisk card (30 MB/s)
- A null-modem cable
- A screwdriver

Used Software:
- Oracle VirtualBox 4.1.4
- PuTTY 0.61
- Ubuntu 8.04 Server (Hardy Heron) LTS
What I did:
@ the laptop
1. Downloaded and installed VirtualBox from https://www.virtualbox.org/.
2. Downloaded Ubuntu 8.04 Server (Hardy Heron) LTS .ISO file from http://releases.ubuntu.com/8.04/ubuntu-8.04.4-server-i386.iso.
3. Connected the USB card reader/writer.
4. Started VirtualBox and created a new Virtual Machine (VM).
4.1 Important: I did not choose to create a virtual disk – this is an important step, as I was going to install Ubuntu directly on the CF card. So, just ignore the virtual disk and the series of warnings 😉
5. Edited the settings for the new VM:
5.1 Under “Storage”: I mounted the downloaded Ubuntu image.
5.2 Under “USB”: I enabled the “USB Controller”, the “USB 2.0 (EHCI) Controller”, and finally I added my card reader/writer as USB device (of course with the CF card inserted).
5.3 Finally, I saved the settings.
6. Started the new VM and booted from the mounted disc.
7. Followed the Ubuntu installation instructions:
– When partitioning, I created two partitions:
– A 3.5GB bootable Linux filesystem partition (used to mount “/”).
– A 0.5GB Linux swap partition (my SOEKRIS-net4801 has 128MB RAM – so, in total 640MB will be available, which I think is reasonable).
– When asked to install packages like “OpenSSH”, “DNS servers”, etc. I just ignored it to get as minimal an installation as possible.
8. When the installation finished, I unmounted the Ubuntu installation ISO and rebooted the VM as instructed to by the installation.
9. After rebooting, VirtualBox will complain about not being able to find a proper boot device – which is correct. So, I just powered off the VM and closed VirtualBox.
10. Finally, on the laptop, I unmounted the card reader/writer. At this point, I got Ubuntu 8.04 Server (Hardy Heron) LTS installed on the CF card.
@ the server:
1. Powered down the server.
2. Connected the USB card reader/writer with the CF card inserted.
3. Booted the server.
4. Pressed F12 to enter the “one-time boot menu”, and selected to boot from USB device.
5. At this point, the server booted Ubuntu from the CF card and I got to the login prompt.
6. I logged in using the credentials created during installation.
7. At this point, I was quite happy that I managed to get the server to boot from the CF card, however, to be able to make the SOEKRIS-net4801 box doing the same, I had to install the generic kernel 🙂
8. To install the generic kernel and configure the GRUB boot manager to allow boot from the generic kernel I used apt-get to install linux-image-generic – however, to do that I had to configure an interface to make the Dell OptiPlex Server able to connect to the Internet.
9. To get the Dell server online I first listed the interfaces currently available:
ifconfig -a
Here, I could see that eth0 was available but not enabled. To enable eth0 I edited the interfaces file:
sudo nano /etc/network/interfaces
… and appended the following lines to the file:
auto eth0
iface eth0 inet dhcp
In this way, I enabled DHCP for eth0.
To request a new IP from the DHCP server I restarted the network daemon:
sudo /etc/init.d/networking restart
At this point, the server got an IP address and I was able to continue 🙂
10. Then, I installed the generic kernel:
sudo apt-get install linux-image-generic
During the install of the kernel, the package manager updates /boot/grub/menu.lst which turns out to be useful later.
11. After a successful installation, I only had to make a couple of adjustments to make the SOEKRIS-net4801 box able to boot the Ubuntu installation.
12. First, I updated the menu.lst file of the GRUB boot loader:
sudo nano /boot/grub/menu.lst
In the file, I added the following in the top:
default 0
timeout 60

serial --unit=0 --speed=19200 --word=8 --parity=no --stop=1
terminal --timeout=5 serial console
… and then, for the generic kernel, I rewrote the menu entry to look like this:
title           SOEKRIS - Ubuntu 8.04.4 LTS, kernel 2.6.24-29-generic
root            (hd0,0)
kernel          /boot/vmlinuz-2.6.24-29-generic root=/dev/hda1 ro console=tty0 console=ttyS0,19200n8
initrd          /boot/initrd.img-2.6.24-29-generic
quiet
13. Then, I created this new file:
sudo nano /etc/event.d/ttyS0
.. in which I inserted:
start on runlevel 2
start on runlevel 3
start on runlevel 4
start on runlevel 5

stop on runlevel 0
stop on runlevel 1
stop on runlevel 6

respawn
exec /sbin/getty -L ttyS0 19200 vt102
14. Finally, I configured fstab:
# /etc/fstab: static file system information.
#
# <file system>                                 <mount point>   <type>   <options>                     <dump> <pass>
proc                                            /proc           proc     defaults                      0      0

# /dev/hda1
UUID=90204a6b-b475-4255-812c-06a14c31ea2a       /               ext3     relatime,errors=remount-ro    0      1

# /dev/hda2
UUID=f6f51c97-e47e-4c91-8af5-367b096f6b23       none            swap     sw                            0      0
15. At this point, the Ubtuntu installation was ready to be mounted in SOEKRIS-net4801 box.
@ the SOEKRIS-net4801 box / @ the server
eth0.'SOEKRIS - Ubuntu 8.04.4 LTS, kernel 2.6.24-29-generic' entry made earlier.eth0 -> eth4eth1 -> eth2eth2 -> eth3/etc/network/interfaces, as I had to use the aliases in the config file:# The loopback network interface auto lo iface lo inet loopback # The three network interfaces # The comments denotes the physical devices on the SOEKRIS box #eth0 auto eth4 iface eth4 inet dhcp #eth1 auto eth2 iface eth2 inet dhcp #eth2 auto eth3 iface eth3 inet dhcp
… and again, to reload the config and obtain an IP from the DHCP server – I restarted the network daemon:
/etc/init.d/networking restart
9. At this point, I got the SOEKRIS-net4801 running online, and decided to install a couple of useful packages:
sudo apt-get install openssh-server
sudo apt-get install htop
sudo apt-get install sl
10. I edited motd for fun:
sudo nano /etc/motd
11. Rebooted just to check that everything worked as expected.
12. Finally, I connected to the SOEKRIS box using SSH – and that was it 🙂
What didn’t work for me?
debootstrap – I had made several attempts to install Ubuntu using debootstrap, however, I always ran into problems – especially when GRUB was to be configured.
“some ready-to-go debian images“ – I was never able to boot from some of these almost ready made installations for the CF card.
FreeBSD using VirtualBox – the installer was not able to mount the CF card in VirtualBox. Using a PC for the same purpose, I was not able to partition and label the CF card, as the writing operation always failed complaining about not being able to write to the CF card.
Using a serial-to-USB adapter on Windows 7 (x64) – using this adapter caused a series of BSOD’s as well as situations where PuTTY just stopped receiving input from the COM port.
Credit and thanks goes to:
Ubuntu 9.04 (jaunty) on a soekris net-4801 @ http://www.swineworld.org/odds/ubuntu9.04-soekris4801.html
Installing Ubuntu 7.04 Server via debootstrap @ http://wiki.soekris.info/Installing_Ubuntu_7.04_Server_via_debootstrap
Installing FreeBSD on Soekris net4801-48 @ http://www.barryodonovan.com/index.php/2009/12/08/freebsd-on-soekris-net4801
Soekris net5501 @ https://wiki.ubuntu.com/Soekris

